Download my Facebook Live checklist and go live now!
Just starting to do live video and have no idea where to begin? We’ve got you covered!
I get asked all the time about the programs and equipment that I use to make my live videos so I thought I’d put it all here in my new resource page. Please note that some of these are affiliate links which means I may receive a small fee at no additional cost to you when you use my links.

Plug In For Better Internet
While wireless internet will work in most cases, you get the best and most steady connection when you have a network cable between your computer and your router.
It’s easy to do, you just need a router near where your laptop is so you can run a cable between the two, and an adapter if you don’t have a place on your laptop to plug a network cable.
Note: The top option below is regular usb only and the one under can be used with usb or usb c.
My Software
I use a MacBook Pro and an iMac as my computers of choice. The software I use to record multiple cameras and do lives is Ecamm which is a Mac only software.
If you use a PC check out StreamYard or try the 60 day free trial of VMix.
If you want to go live with a tablet and phone check out ManyCam as a cheaper option, though it’s not as robust as Ecamm or StreamYard.
Why use Ecamm? You can switch between cameras, use a green screen, make some camera tweaks, schedule lives, record not live video, and so much more! Use my link to get a free 14 day trial.
I sell my live and pre-recorded classes using Podia‘s platform. You can also get a 14 day trial using my link and there’s no credit card required. I’m planning on doing tutorials for Podia later, but for now just know I prefer it over Teachable because of it’s awesome customer service.
Another option to use multiple cameras and teach is to login your laptop and phone to Zoom. You will need a paid Zoom account if your class will be longer than 40 minutes.
My Lights
I recommend using LED lights and the price has come down making them very affordable.
If you afford get a set of two, get them because it makes it easier to light any area. I plug in my lights instead of using batteries. You get that choice with most light sets.
You also want to make sure that they come with light stands if you don’t already have any.
Here are the lights I’m using right now, this includes batteries, stands, plastic diffusers, and a remote:
Tip: Plug your lights into a single power strip so you can turn them on with one push!
People I respect also recommend:
A Cheaper Starter Light “Kit”
Well, this is actually not real video equipment so saying kit feels so wrong. But if you are on a tight budget and just need to get up and running fast, try these corn lights in lamp bases you already have (or the cheap ones listed below).
Just remember to keep them a distance to the side and in front on your counter for best results.
My Microphone
I use a wireless mic so I can move freely around the kitchen when I’m doing a cooking class. But if you are staying in one place you can use a wired mic.
If you are just starting out you can use the headphones and mic that come with your phone.
I use this one that’s actually inexpensive and works great. It does use batteries so buy some rechargeable ones to go with it:
Below are a few regular microphones that people I respect recommend:
Phone Accessories
Through Ecamm on my MacBook I am able connect my iPhone as a camera source. I use this app, NDI HX. Here are a few things that help me use it as my 4th camera.
My Cameras
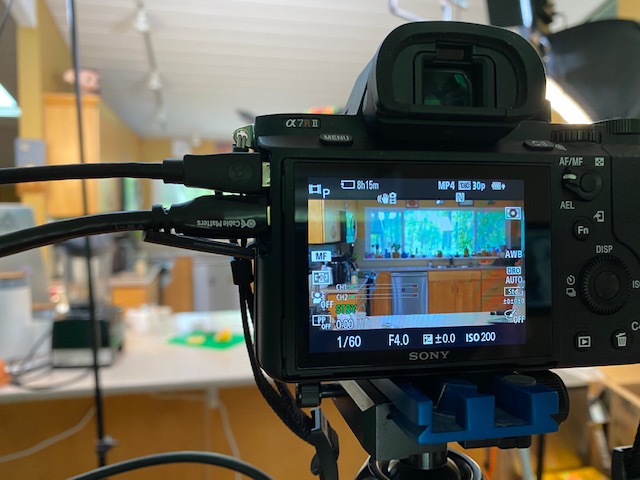
Don’t forget, you can get started creating live video just using your phone. The cameras I use now are more expensive and better quality than the ones I started with. You can always upgrade as you go along.
My front camera:
My overhead camera setup:

I hope all this info helps, but contact me if you have any questions!
